Porth yr Ogof Sump 9

Porth yr Ogof is a cave situated in the Brecon Beacons in South Wales frequented by divers as well as dry cavers, I believe it has the largest cave entrance in Wales.

The large bedding plane entrance to the main cave

The naming convention is rather confusing in that to reach sump 9 you start in sump 3 at the Tradesman’s entrance, dive through sumps: 3,2 and 1, before exiting the water for a short section of passage (Upper Cave Water Chamber), before diving sump 8, crawling for a short while before diving sump 9, the subject of the post. It is also possible to start in sump 1 entering via the Top Entrance negating about 150 m worth of diving by missing sumps 2 and 3, information and an old survey can be found here:

Click to access UBSS_Proc_15_3_259-0.pdf

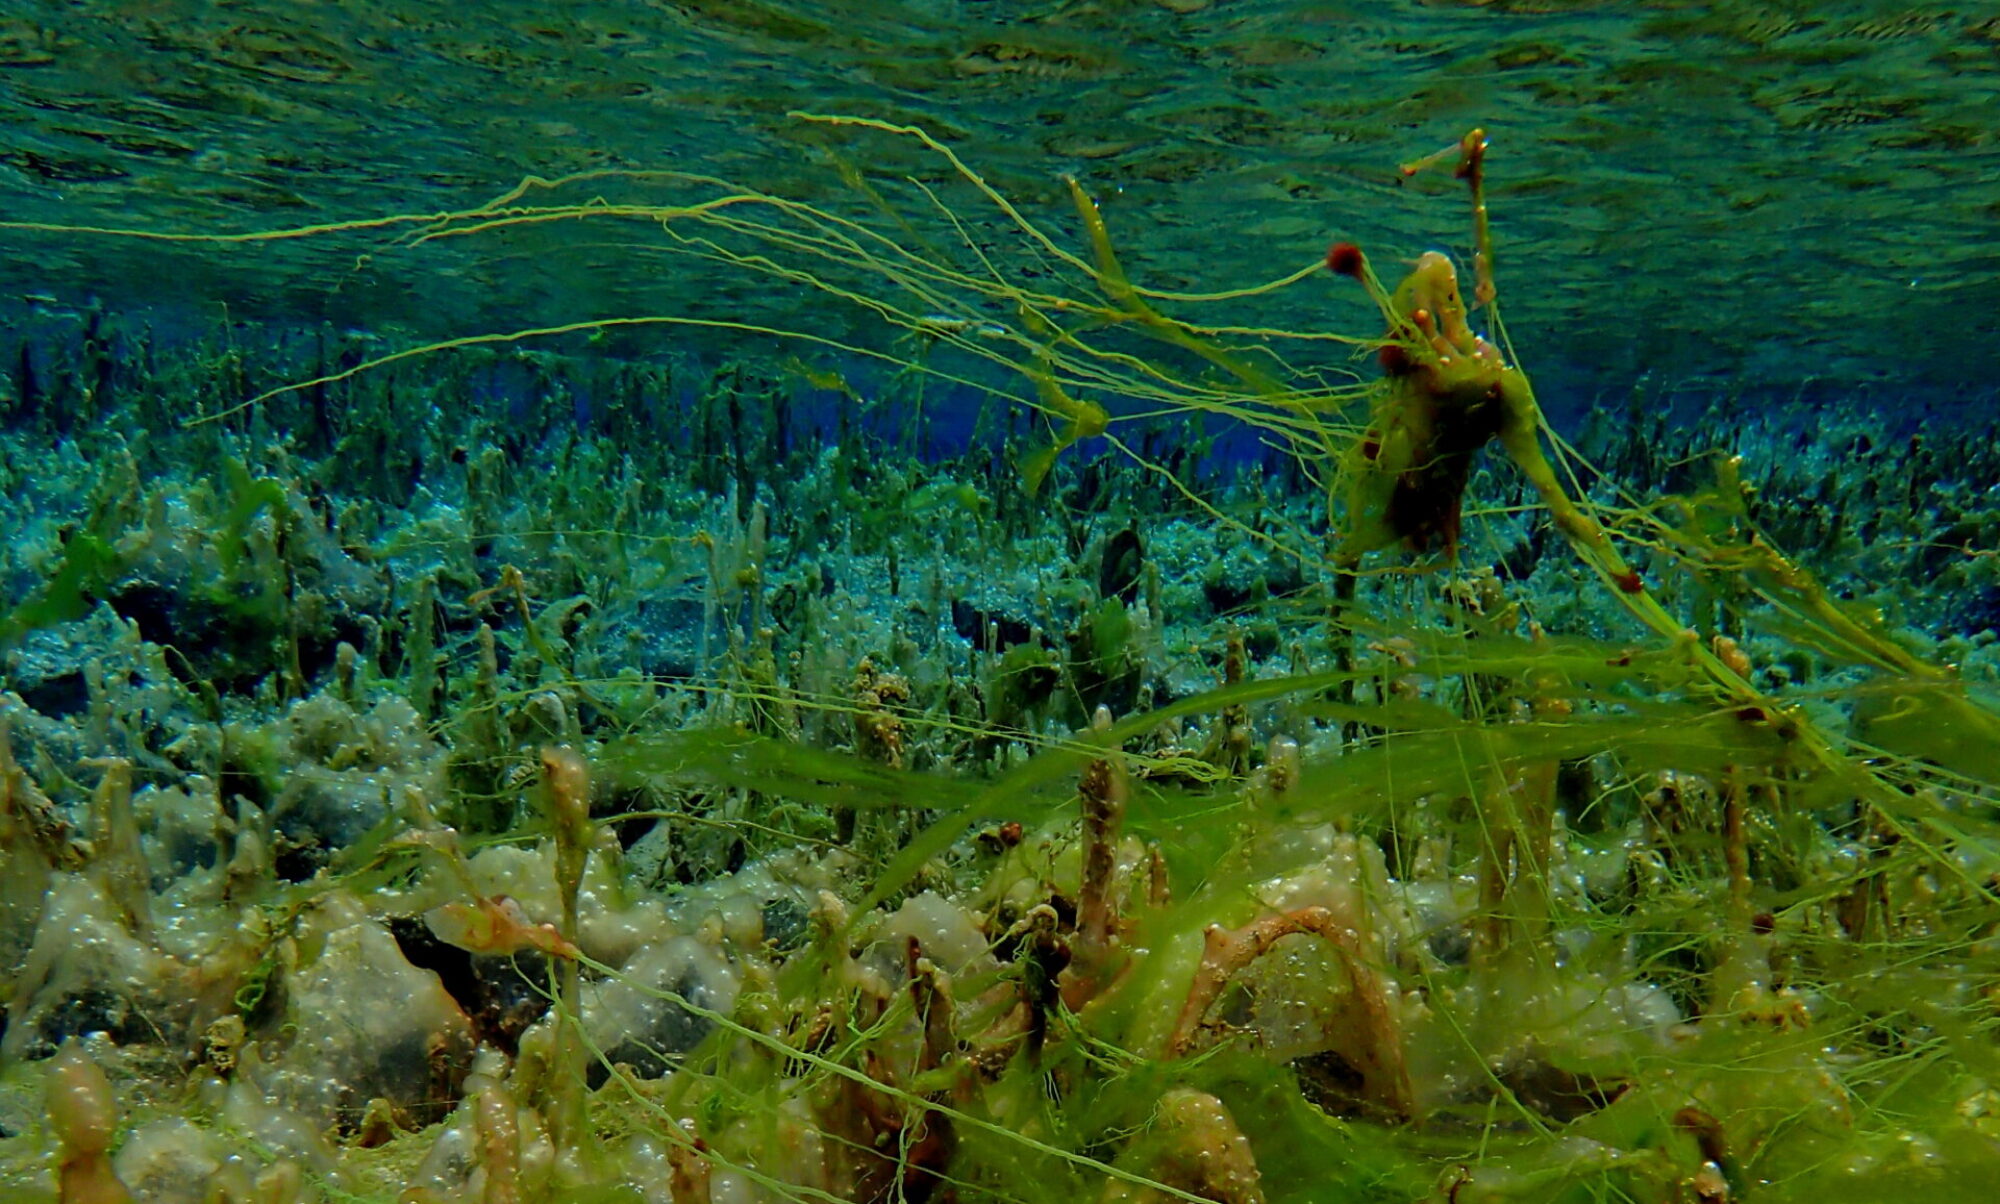
Late in 2020 I visited Parker Series which is the dry section of the cave guarded by sump 9, after diving through it struck me how ideal a place it was to attempt to create a model using photogrammetry. The water is usually clear and the passage is mostly formed as a small tube meaning cheap lights and cameras would make a reasonable job of it.

Source Images from first attempt

I set off on a second trip with my Gopro Hero 3+ and Ebay video lights and moving very slowly captured stills every 0.5 seconds using the interval function. It took around 300 images to cover the sump each way. The Ebay video lights I used do have an odd colouration where they overlap but this doesn’t bother me, it might bother photography purists but my main intention is to measures the size, shape and direction of the passage and for this true colour representation doesn’t matter.

Typical source image, taken about midway through the sump

Loading the 300 images into the software and processing the images yielded a nice accurately aligned point cloud of the sump, I didn’t cover the three side passages on this occasion so these are missing but the smooth curves that the passage follows can be clearly seen, the UBSS survey lacks detail in comparison.

Plan view of model

Whilst a nice representation of the sump has been created it bears no orientation or dimensional reference to the actual passage. I visited again with the intention of covering the side passages and adding a means of aligning the data to magnetic north, absolute depth and scaling it so that distance and size was more accurately represented.

To do this I took a plastic builders square (with weight attached) and my survey device back to the sump, I dived a short way into the sump before placing it on the floor and returning to the start for my camera. I then took photos through the passage as normal this time covering the builders square on the floor. I continued to the first side passage and tried to cover as much as possible of it. Once this had been done I placed my survey box on the raised edge of the square to be used as a heading reference and took 2 for-sights and 2 back-sights. I had programmed a timer so that I had time to retreat a few metres for each shot so as to minimise any magnetic distortion from my diving equipment being close to the magnetometer. The fore and back sights agree quite well so it was worth doing this.

Plastic builders square with survey box used to measure heading and depth.

I repeated the process towards the end of the sump so that I had two heading references (one to align to and one to check against), the depths of the centers of the yellow square were measured to align the depths to and the edge of the yellow square was used to estimate scale from. Once out of the cave the photos were then processed to generate a new point cloud containing the yellow squares which were then rotated, translated and scaled to the ‘correct’ figures.

Survey and model video to follow….

DIY Helmet Mounted Caving/ Diving Light

Versions 1,2 and 3 light bodies

There are multiple options for cavers who like diving through sumps to further their caving trips to choose from in the lighting department, the likes of Scurion, Phaeton, Rude Nora and other manufacturers have been making suitable lights for years.

This being the making category of this website you can probably see where this is going !

Sometime in 2018 I discovered the LED driver board (the heart of any modern lamp) for the Phaeton was available for purchase from its designer/ manufacturer in the States which is:

https://www.taskled.com/

I duly ordered a couple of boards, some CREE leds cobs and a suitable switch (tricky to track down and a few month wait for stock). Once these had arrived I soldered the bits together then proceeded to procrastinate for a while whilst trying to figure out how to solder and assemble the 20 pence piece sized board inside a small water proof housing.

This went on to the point where I became more interested in other things and forgot about the parts I had, occasionally coming back to the problem but finding no solution.

My whole cave/ sump diving career has involved the use of a hotch-potch of different hand held lights attached to my helmet, great for redundancy but heavy out the water. For caving trips only I would remove these lights and attach a Petzl MYO which is nice and light in comparison.

I’m not one for caving with super bright lights, its nice to have the option to occasionally use full beam to light up distant parts of passages but for the most part i’m happy to cave on dim settings. During the late summer of 2020 the diggers of Wookey 20 (website in links) had broken through into what they have named ‘The Land of Hope and Glory’ in which was an enticing aven was found and to be climbed by myself and the bolt climbing veteran Tom Chapman.

We duly arrived with equipment and the other proceeded to use their highly powered caving lights to light up the roof of the aven some 30 m above. I set my Petzl Myo to full and could barely see anything !

This lack of power is what reignited my want for a powerful light that was waterproof enough for any diving I had planned and brighter than what I had already. Its main use would be for caving the other side of sumps, centrally head mounted lights give lots of backscatter so are of limited use as a primary light underwater in normal British cave diving conditions.

The parts I had obtained in 2018 were dusted off and I had a fresh look at the problem, mainly the soldering and assembly in such a confined space to keep the overall size and weight of the light down. No futher progress was possible with the idea in my head or in CAD modelling. so I decided to just start making a housing and and to try and assemble it and make it up as I went along.

Strangely, once I had roughed out the housing the ideas started flowing and after a few eureka moments I found a way to assemble it so construction started in earnest.

The body is made of Acetal, with a 5mm Polycarbonate front and an Aluminium heat sink for a rear both sealed by o rings. The battery box houses two 18650 batteries and is made of Acetal.

Version 2 ready for testing

After having assembled a working version in Autumn 2020 I took it for a few trips, although the light remained dry it worked very nicely in Raven’s well, it didn’t overheat which was one of my concerns using a plastic body and metal backing plate and the combined spot and flood lenses gave a nice pool of light to cave with. A more testing trip a week later in Swildon’s Hole involving free diving to sump 6 however proved it to be less than waterproof. The light worked really well on the trip and owing to the conformal coating I had put on the exposed electrical connections it continued to work even when wet inside but on inspection on the surface it had a fair amount of water inside given the shallow and short nature of the sumps.

Inside of the rear, version 3 body.

The possible source of the leak perplexed me for a while, I kept taking it apart checking things then taking it for a dive only to have it consistently leaking. Whilst descending from the surface with it in my hand so that `I could visually see where the water was coming from showed that it was leaking by the switch which has an o ring seal on.

Detail of switch showing threads not cut up to sealing o ring

Taking it apart and drying it again and inspecting the switch showed that the threads didn’t go all the way to the sealing surface on the switch lip, meaning that when it was screwed down onto the body it couldn’t go down enough to actually engage the o ring and the source of my troubles. These switches are meant to be mounted in a panel using a clearnce hole for the threads and a nut the other side instead of being installed into a threaded body like I had done. What I needed to do was cut a small relief diameter to the top of the threads on the light body so that the switch could be screwed all the way down to compress the O ring and make a seal. I tried this on the light I had made already (v2) but messed it up so version 3 was ‘born’ with a funkier cut away shape and the extra clearance for the threads.

Version 3 from the front with lenses removed

Pressure testing the light on dives and fixing it in between had become a rather exhausting process so I decided to fashion a small pressure pot out of some clear pipe, some end caps I had used on a small dry tube previously, an old bike inner tube valve and a bike pump. Using this setup I was able to cautiously test it to 80 m depth in my back garden.

Back garden pressure testing

I am happy to report some months later that after a few diving trips it has been working very well, I have since changed the LED’s to those with a warmer colour temperature, I find this easier on the eyes. Caving with the light on the second dimmest setting gives ample light and even with the occasional bursts to full I am getting many hours before I am having to recharge it.

I have it mounted to my original Petzl Spelios helmet (with the Duo removed) and found that due to the foam in the helmet when inadvertently left in a sump pool the whole lot floats which is a nice benefit, no more worries about dropping and loosing a helmet into the murk.